
Smart Board Installation, in the Order the Work Actually Happens
An interactive display is heavier than it looks, needs power and data at the exact point where it hangs, and has to end up at a height that works for the shortest person expected to write on it. KSEDCO installs interactive panels in Georgia classrooms, corporate training rooms, and clinical education spaces, and the work runs in a fixed sequence for good reason.
1. Survey the wall, not the room
Most of the risk is behind the finish. A 75-inch or 86-inch interactive panel plus its mount is a real structural load, and where it lands matters. Metal stud partitions in an Atlanta tenant fit-out need blocking or a stud-spanning mount. Concrete block in older school buildings around Macon and Columbus needs anchors chosen for the block web versus a hollow cell, with grouted and reinforced cells avoided. A demising wall may not be yours to penetrate at all. We confirm construction, locate existing conduit and returns, and mark the mount footprint before anything is ordered.
2. Fix the mounting height
Interactive means people touch it. Height is a compromise between sightlines from the back of the room and reach at the writing surface: too high and shorter students and staff cannot use the top toolbar, too low and the front row blocks the view for everyone behind them. In K-12 rooms the correct height changes by grade band, so a district standard needs at least two. Wall-mounted panels also have to respect protrusion limits in circulation paths under the ADA Standards, which in a corridor or a narrow room often decides between a fixed wall mount and a mobile stand.
3. Get power and data behind the panel
A recessed box behind the display keeps the plug and the terminations inside the mount depth so the panel sits flat against the wall. We land a dedicated receptacle and at least one data drop in that box, plus a spare pathway for whatever gets added later. Panels now depend on the network for firmware, single sign-on, and device management, and a room cabled for a projector several years ago rarely has a drop anywhere near where the panel goes.
4. Mount, then integrate
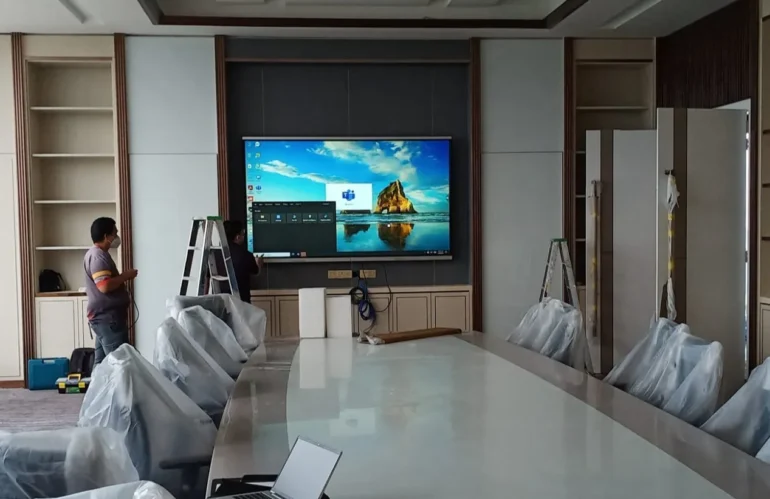
The panel goes up and gets leveled against the room rather than against the ceiling grid, which is frequently out of level itself. Then the connected devices: an OPS slot computer if the panel takes one, a room PC, a document camera, a soundbar where the internal speakers will not cover the space, and conferencing hardware if the room doubles as a meeting room. In-wall cable runs use in-wall rated cable to the recessed box, not a surface cord in a raceway.
5. Commission and calibrate
Touch calibration, pen tracking, source switching, audio levels, and wake and sleep behavior all get tested with the room lights set the way they will actually be used. We join the panel to your network, apply the settings your IT group wants — management enrollment, update policy, time zone, screen lock — and confirm the room comes back correctly after a full power cycle. That last step is where a surprising number of installations quietly fail.
6. Hand it over
Documentation covers the panel and mount models, the mounting height used, wall construction and anchor type, box and drop location, MAC and IP details, and a short walkthrough for the people in that room every day. Where a district or campus is standardizing across many rooms, we build and document the first room as the template so the rest match it instead of drifting.
To plan interactive display installations across a Georgia campus, district, or office, call KSEDCO at (888) 360-0035 or contact us.